How to Embed an Instagram Feed on Webflow (2026 Complete Guide)
Webflow attracts a specific kind of user: designers and developers who want pixel-level control over every element on their site. That same mindset is exactly what makes Webflow's default Instagram options so frustrating. The native solution is either a static single-post embed that goes stale the moment you publish new content, or a third-party widget from the Webflow Marketplace that handles the JavaScript for you — but typically locks you into one layout option with limited design control.
If you have found yourself in the Webflow Designer staring at a placeholder box where your Instagram feed should be, or if you have published your site and realized the feed doesn't look anything like your brand, this guide is for you.
This is the complete guide to embedding a live, auto-updating Instagram feed on Webflow — covering Webflow's technical requirements, the three different code injection methods available in Webflow and when to use each one, step-by-step setup with CollectSocials, layout recommendations for different Webflow use cases, and the specific gotchas that break Instagram embeds on Webflow that almost no guide explains.
What You Need to Know About Webflow and Custom Code Before You Start
Webflow gives you more control than any other no-code builder, but that control comes with a few rules that catch people off guard. Before touching your Instagram feed setup, make sure these boxes are checked.
Your Webflow Site Must Be on a Paid Site Plan
This is the most common blocker, and most Instagram-on-Webflow guides bury it in a footnote or skip it entirely. The Embed element — the component you use to inject any third-party code including Instagram feed widgets — is only available on paid Webflow site plans. This includes the Basic, CMS, Business, and Enterprise site plans.
It is not enough to have a paid Workspace plan (Core, Growth, Freelancer, or Agency). If your site is hosted on a free Webflow domain (the .webflow.io subdomain), the Embed element will be greyed out and unavailable in the Designer.
If you hit this wall, you have two options: upgrade your specific site to a paid hosting plan, or use the Page Settings Custom Code method described later in this guide, which is available without a paid site plan — though it has its own limitations.
Custom Code Does Not Preview in Webflow Designer
This trips up nearly everyone the first time. When you paste an Instagram widget script into an Embed element in Webflow's Designer, you will see a grey placeholder box — not your actual Instagram feed. This is not a bug and it does not mean your embed is broken.
Webflow's Designer is a design environment, not a browser. It cannot execute external JavaScript. Your Instagram feed will only render correctly on your published site or on a staging URL. Every time you make changes to your widget setup and want to verify the result, you must publish first and then check the live URL.
This one fact would have saved me significant debugging time. Build in the Designer, publish to staging, verify there.
You Need an Instagram Business or Creator Account
Personal Instagram accounts have been locked out of third-party API access since Meta tightened its platform restrictions. Switching is free and takes two minutes: open the Instagram app, go to Settings → Account → Switch to Professional Account → Business. Your posts, followers, and content stay exactly as they are. If you use Instagram primarily as a personal account, the cleanest approach is to create a separate Instagram Business account for your brand and use that as your feed source.
Your Instagram Business account also needs to be connected to a Facebook Page. Meta's API requires this link for any third-party integration. If the accounts are not already linked, connect them in Instagram Settings → Linked Accounts.
Three Ways to Add Custom Code in Webflow
Webflow gives you three distinct injection points for code. Which one you use for your Instagram feed matters — choosing the wrong one causes the widget to either break, show in the wrong place, or load on pages where it is not needed.
<!-- Add Custom HTML Block -->
<div id="cs-wall-abc123"></div>
<script src="collectsocials.com/w.js"
  data-feed="abc123" async></script>
Method 1: The Embed Element (Recommended for Most Use Cases)
The Embed element is a draggable component that you place directly inside your page layout, just like a text block or a container. It is the most precise injection method — you control exactly where on the page the Instagram feed appears, and the feed renders inside the normal page flow.
To add it: open the Add Elements panel (+) in the top-left, scroll to Components, and drag the Embed element to the exact position you want your Instagram feed to appear. A code editor window opens automatically. Paste your CollectSocials script tag, click Save & Close. Publish to see it live.
The Embed element requires a paid site plan. The character limit is 50,000 characters, which is more than sufficient for any Instagram widget embed code (typical embed scripts are under 500 characters).
Best for: Homepage Instagram sections, product page social proof feeds, about-page social walls — any placement where you want precise control over where in the layout the feed lives.
Method 2: Page-Level Custom Code (No Paid Plan Required)
Every Webflow page has a Custom Code tab in its Page Settings (access from the Pages panel → gear icon on the page name). Here you can inject code into the <head> or before the closing </body> tag of a specific page only.
For an Instagram feed, paste the widget script tag in the Before </body> field. You will then need an empty <div> with a specific ID on the page for the widget to target, which requires adding a custom attribute to a Webflow element. This is slightly more technical than the Embed element method but works on free Webflow plans — useful if you are deciding whether to upgrade before committing.
Best for: Testing Instagram embeds before upgrading your site plan; pages where you want the feed to be invisible to the Designer canvas.
Method 3: Site-Wide Custom Code (All Pages)
Site Settings → Custom Code adds scripts to every page on your entire site. This is appropriate for analytics scripts and chat widgets — not for Instagram feeds, which should only appear on specific pages. Avoid this method for Instagram embeds unless you have a specific reason to display the feed on every page of your site.
How to Embed an Instagram Feed on Webflow with CollectSocials
Here is the full setup walkthrough.
Step 1: Create Your CollectSocials Account
Go to collectsocials.com and sign up. The free plan gives you three sources, unlimited feeds, and 2,000 monthly page views with no trial expiration — you can use it indefinitely and upgrade only when you outgrow the page view limit. No credit card required.
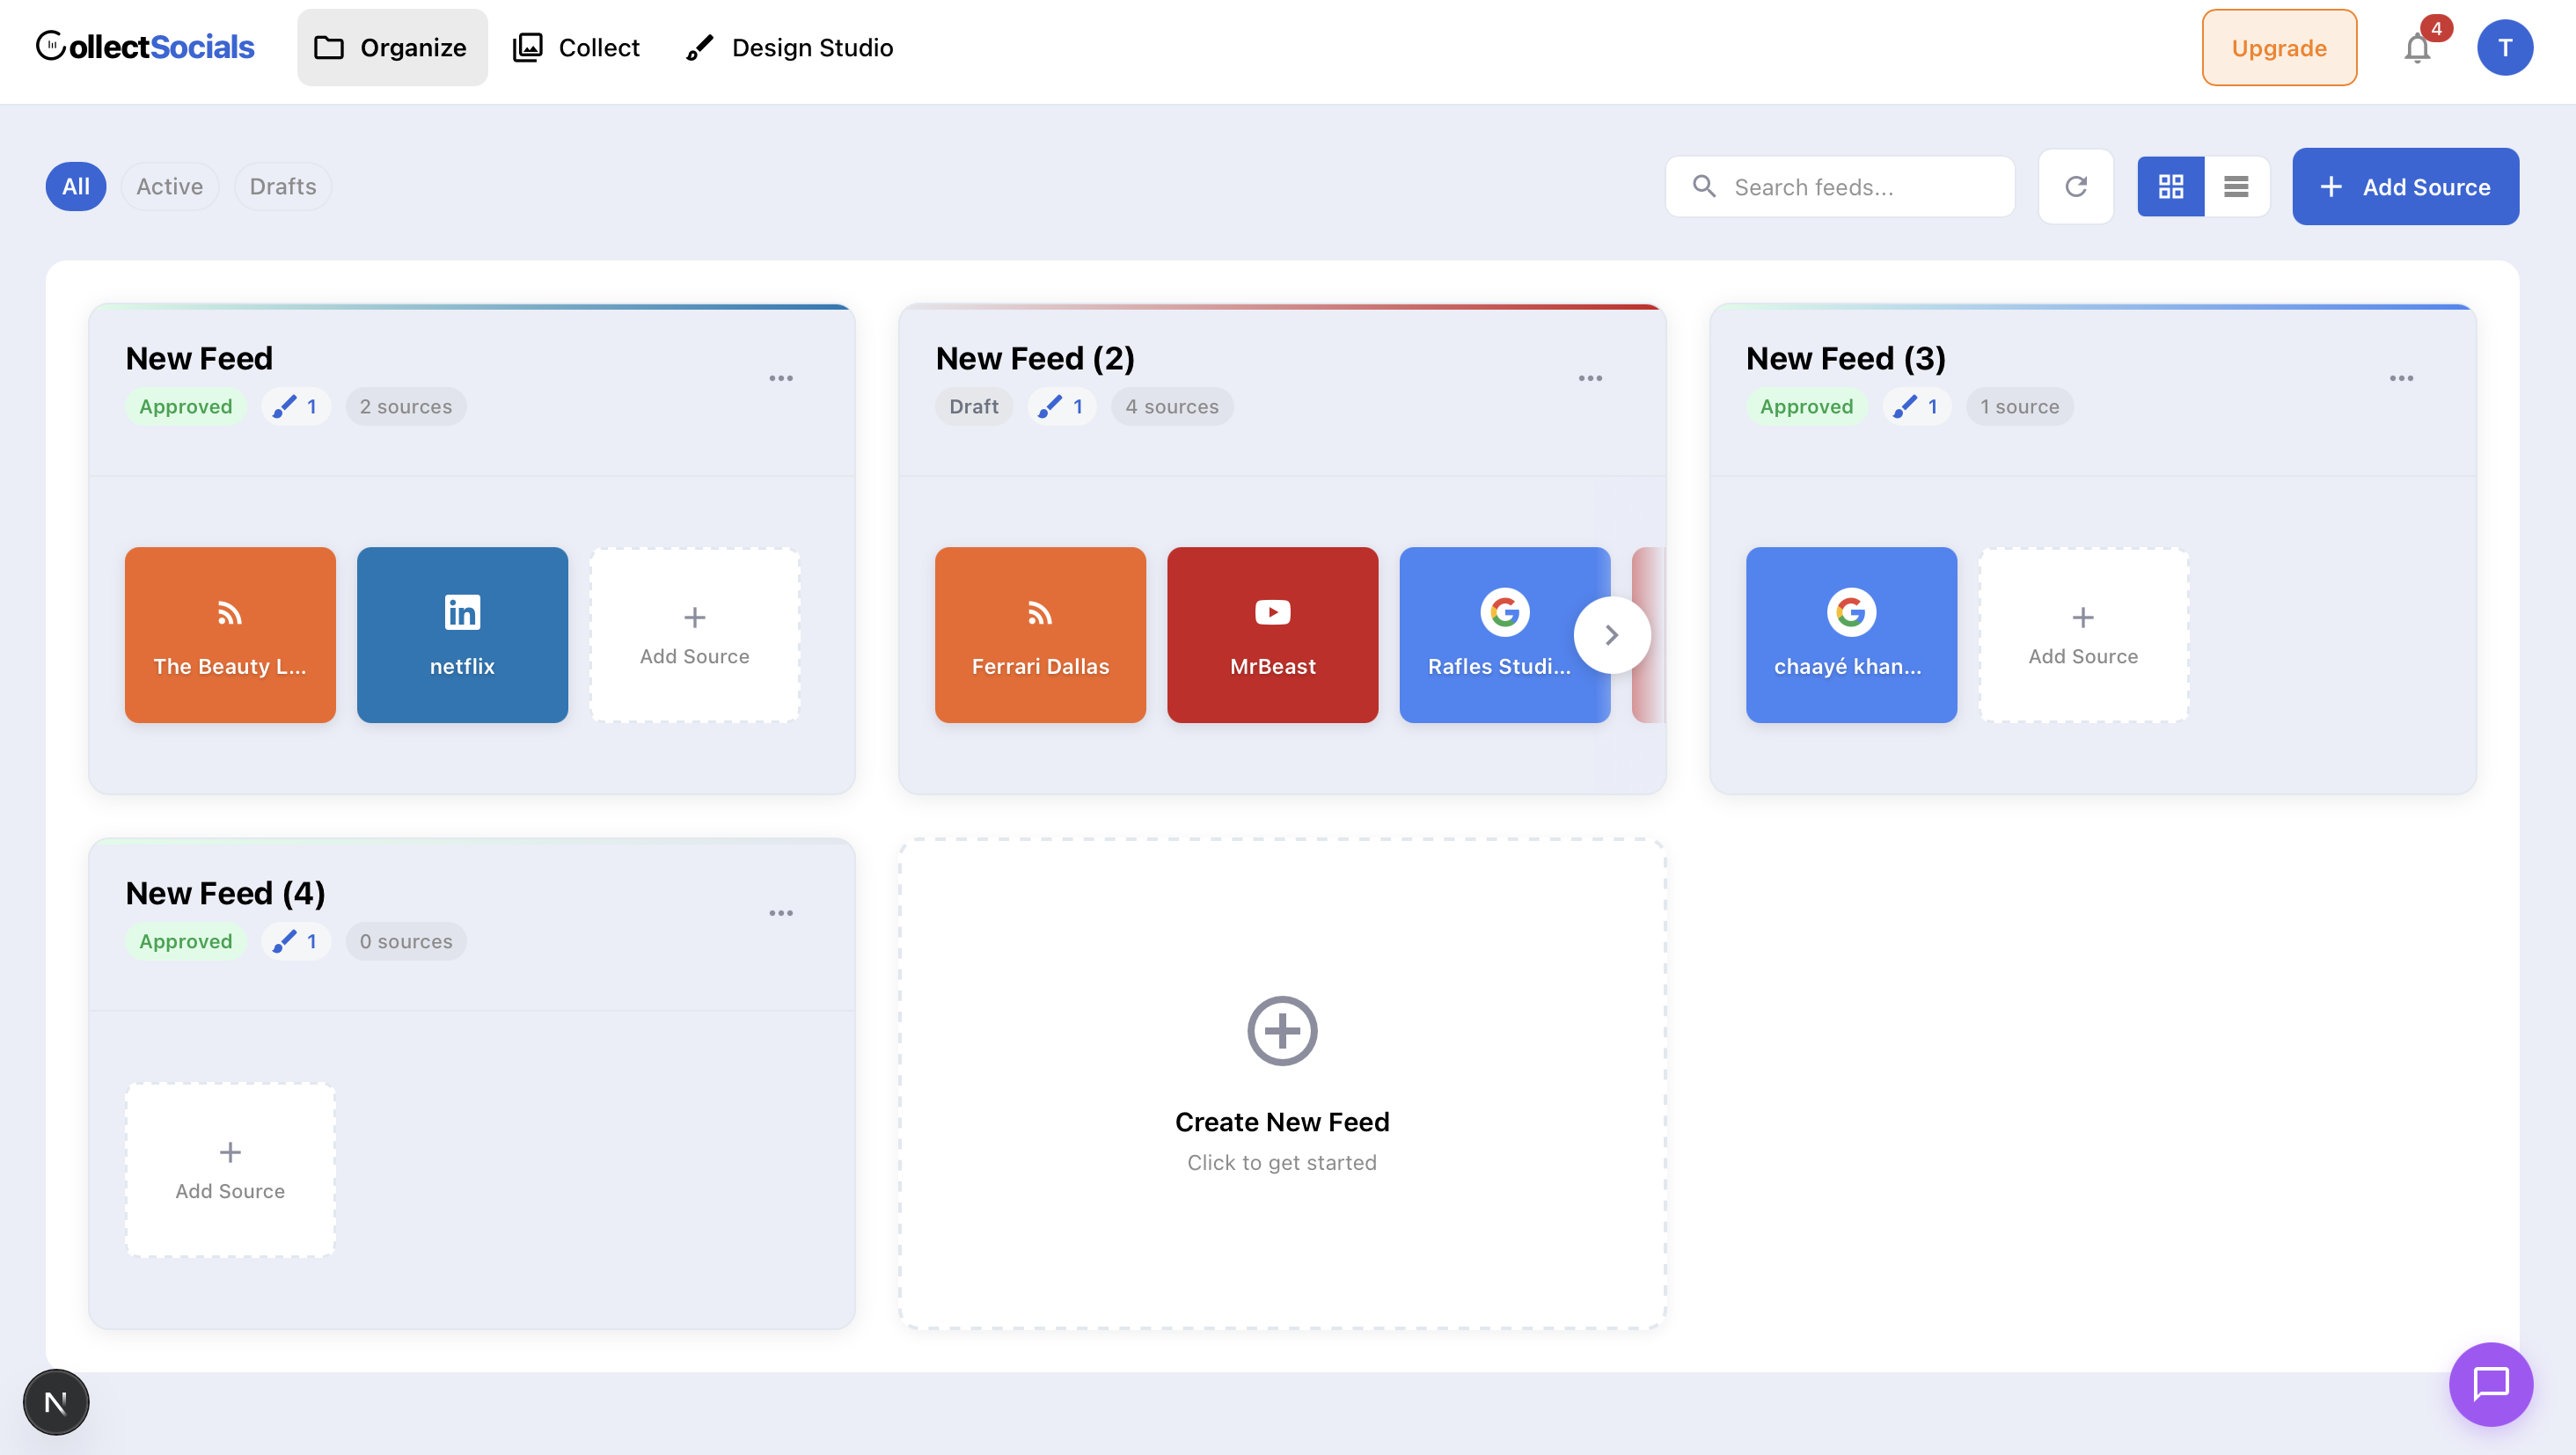
Once you are in the dashboard, you will see your feed management area. This is where you create and manage all the Instagram feeds you will embed on your Webflow site.
Step 2: Create a New Feed
Click "Create Feed" and name it to reflect where it will live — "Webflow Homepage Feed," "About Page Instagram," or "Product Gallery" are all helpful naming conventions, especially if you are managing feeds for a client site or multiple pages.
A feed is a container that holds your source connections. You can create multiple feeds if different pages on your Webflow site need different Instagram content — for example, a Reels-heavy feed for a media company's homepage and a product-focused grid for their shop page.
Step 3: Connect Your Instagram Account
Inside your feed, click "Add Source" and select Instagram. You will be taken through Meta's official OAuth flow — log in with your Facebook credentials, grant the required permissions, and select your Instagram Business account. CollectSocials will immediately begin pulling your posts, Reels, and carousels.
If you also want to include content from other platforms — YouTube videos, Google Reviews, Facebook posts — you can add those as additional sources to the same feed. All content aggregates into a single widget, which is useful for Webflow portfolio pages that want to show a cross-platform social presence in one section.
Step 4: Curate Your Content
Navigate to the Collect tab. Every post imported from your Instagram account appears here. Go through and select the posts you want to display on your Webflow site — hide anything off-brand, outdated, or not relevant for the audience on that specific page.
This curation step is where a CollectSocials feed pulls away from simpler Instagram embeds. Native Instagram embeds show your most recent posts in chronological order with no editorial control. With CollectSocials, you can surface your best-performing Reels on the homepage and your most visually polished product photos on the shop page — different editorial choices for different pages, all without duplicating your source connection.
Step 5: Design the Widget
Open the Design Studio and configure the layout and theme for your Webflow page.
Webflow sites tend to fall into one of three visual profiles, and layout choice should match:
Agency or portfolio sites (bold, high-contrast, custom typography): Masonry with the Bold or Vivid theme creates a gallery feel that complements strong brand design. If the site uses a dark background, the Glass theme renders beautifully. Carousel with the Neon theme is a standout choice for creative studios.
SaaS or B2B product sites (clean, structured, white space): Grid with the Minimal or Corporate theme integrates without visual noise. The feed reads as part of the page architecture, not a bolted-on social widget. A two or three-column grid with dates and platform badges hidden keeps things polished.
E-commerce or lifestyle brands (visual, lifestyle photography): Mosaic or Masonry with the Elegant or Soft theme showcases product photography naturally. Enable the avatar and platform badge display elements so visitors can clearly see these are real Instagram posts — the social-proof signal is stronger when the source is visible.
For layout sizing, turn off the "Max Width" constraint in CollectSocials' Design Studio settings. This lets the widget fill the full width of its parent container in Webflow, which is how Webflow expects embedded elements to behave inside sections and divs.
Step 6: Copy the Embed Code
Once your design is configured, click "Get Code." CollectSocials generates a single <script> tag — one line of code. Copy it to your clipboard.
Step 7: Add the Embed Element to Webflow
Open your Webflow project in the Designer. Navigate to the page where you want the Instagram feed to appear. In the Add Elements panel (the + icon in the top-left), scroll to Components and find the Embed element. Drag it to the exact position on the canvas where you want the feed — inside a section, inside a container div, inside a two-column layout, wherever fits your design.
The Embed element opens a code editor automatically when you drop it. Paste your CollectSocials script tag into the code editor. Click Save & Close.
You will see a grey placeholder box in the Designer — this is correct and expected. The feed is not broken. It will not render in the Designer under any circumstances.
Step 8: Publish and Verify
Click Publish in the top-right corner of the Webflow Designer. Open your published site URL (or your staging URL) in a new browser tab. Navigate to the page where you placed the embed. Your Instagram feed should be live.
If it is not displaying, check the three most common causes: your Webflow site plan does not include the Embed element (upgrade required), your Instagram account is personal rather than Business (switch to Professional Account), or a browser extension (ad blocker, script blocker) is preventing the widget from loading (test in an incognito window without extensions).
Making Your Feed Reusable Across Multiple Webflow Pages
This is a Webflow-specific technique that almost no Instagram embed guide covers, and it is invaluable for agencies and developers building multi-page client sites.
If the same Instagram feed needs to appear on multiple pages of your Webflow site — the homepage, the about page, and the contact page, for example — do not add a separate Embed element to each page individually. That creates a maintenance problem: when you update your widget design, you need to update the embed code in three places.
Instead, use Webflow's Component system. Once you have your Embed element in place and working correctly on one page:
- Right-click the Embed element (or its parent container) in the Navigator
- Select "Create Component"
- Name it something like "Instagram Feed Widget"
- Now drag this component from the Components panel onto any other page
When you update the widget code inside the component on any page, the change propagates to every instance across the site. This is the correct way to handle any reusable third-party widget in Webflow — and it dramatically reduces the maintenance overhead for agencies managing client sites.
Responsive Behaviour: What Webflow Designers Need to Know
Webflow's visual breakpoint system is one of its strongest features, but it introduces a nuance for embedded widgets. Webflow applies responsive styles to the Embed element's wrapper div, not to the widget's internal elements. This means if your grid layout looks perfect on desktop but crowded on mobile, the fix happens in Webflow — not in CollectSocials.
The most reliable approach: place your Embed element inside a Webflow container or section div, and use Webflow's breakpoint controls to set the container's width, padding, and margin at each breakpoint. The Instagram widget will fill its container's width naturally and reflow its own internal layout at narrower widths.
For grids, a 3-column grid on desktop will typically reflow to 2 columns on tablet and 1 column on mobile automatically. For Carousels and Marquees, the horizontal scrolling behaviour is inherently mobile-friendly and requires no additional breakpoint work.
If you need to hide the Instagram feed entirely on mobile — which some Webflow designers prefer for load-time reasons — wrap the Embed element in a Webflow div block, then set that div's display to none at the mobile breakpoint.
Where to Place Your Instagram Feed on a Webflow Site
The placement decision is strategic, not decorative. Different page positions create different audience expectations and serve different conversion goals.
Homepage: below the fold, after your value proposition. The hero section of your Webflow homepage is where you make a value-first argument to a visitor who does not know you yet. Your Instagram feed should come after — once they have understood what you do, social content from real accounts serves as validation. A full-width Masonry or Marquee grid between the second and third sections of a homepage is an effective position. It breaks the information density of above-the-fold copy and invites dwell time.
About or Team pages: mid-page, integrated into the brand narrative. On an about page, an Instagram feed functions as a live window into the culture behind the brand. Position it after the founding story or team section, not at the very bottom. A Carousel layout works particularly well here — it takes less vertical space and feels more editorial than a full grid.
Portfolio pages: as the hero element or as a section of its own. For creative agencies and freelancers building in Webflow, Instagram content often is the portfolio. A full-width Mosaic or Masonry layout near the top of a portfolio page — before the individual case studies — gives visitors an instant visual impression of your body of work.
Product or services pages: adjacent to or below the main CTA. Social proof at the point of conversion is one of the most reliable CRO techniques. Embedding an Instagram feed of customer posts, product-in-use shots, or UGC content directly above or below your pricing table or main CTA button reduces friction at the decision moment. Use a tight, compact Grid layout in this position — three or four posts, not a full wall — so it supports the CTA rather than competing with it.
For a broader discussion of placement strategy, see the guide on where to place Instagram feeds on your website.
Common Issues and How to Fix Them
The feed shows as a grey box in Webflow Designer. Expected behaviour. This is Webflow's preview placeholder for all custom code. You cannot preview third-party scripts in the Designer. Publish your site and check the live URL.
The embed is not appearing on the published site. Check your Webflow site plan. If you are on a free site (.webflow.io domain with no paid plan), the Embed element is not available. Verify by going to Project Settings → Plans & Billing. Alternatively, use the Page-Level Custom Code method which works on free plans.
The Instagram feed is displaying but looks broken or unstyled. The most common cause is a CSS conflict between your Webflow theme and the widget's own styles. CollectSocials uses Shadow DOM isolation to prevent this, but if you are using a different widget service without Shadow DOM, this is the likely culprit. Switch to CollectSocials or wrap the Embed element in a Webflow div and apply isolation: isolate as a custom CSS property to that div.
The feed shows some posts but not all. Instagram's API returns posts in reverse chronological order but limits the initial batch. If you have a large archive, older posts may not have imported yet. Give it 24 hours for a full import. Also check your Collect tab in CollectSocials — if posts are deselected there, they will not appear in the widget even if they have been imported.
The feed stopped updating. Instagram's API tokens expire if the connected account changes password or if Meta revokes access after 90 days of inactivity. Go to CollectSocials → Sources → reconnect your Instagram account. The OAuth flow takes under a minute.
Browser extensions are blocking the feed. Ad blockers, script blockers, and privacy extensions sometimes block social media widgets from loading on websites. If the feed works in normal browsing but not in tests, try an incognito window with all extensions disabled. This does not affect regular site visitors who do not use extensions.
Instagram Feed Webflow: Quick Setup Checklist
Before you publish, run through this list:
- ☐ Instagram account is set to Business or Creator (not Personal)
- ☐ Instagram account is connected to a Facebook Page
- ☐ Webflow site is on a paid site plan (or using Page-Level Custom Code method)
- ☐ CollectSocials feed has been created and sources connected
- ☐ Posts have been curated in the Collect tab
- ☐ Widget layout and theme match the Webflow site's design language
- ☐ "Max Width" constraint is disabled in CollectSocials Design Studio
- ☐ Embed element is placed inside a properly sized container div in Webflow
- ☐ Site has been published (not just previewed in Designer)
- ☐ Feed verified on live or staging URL
- ☐ Responsive behaviour verified at tablet and mobile breakpoints
- ☐ If used on multiple pages: consider wrapping in a Webflow Component for reusability
The Result: A Live, Curated Instagram Feed That Works With Webflow's Design System
Done correctly, an Instagram feed on Webflow does not look like an external widget bolted onto your site. It looks like a designed section of the page — same spacing rhythm, same visual language, same level of craft as the rest of your Webflow build.
The key decisions that get you there: choosing CollectSocials' Design Studio to match the layout and theme to your Webflow site's visual profile, placing the Embed element inside a properly-constrained Webflow container, disabling max-width so the widget fills its container naturally, curating your posts deliberately rather than showing the raw chronological feed, and turning the embed into a Webflow Component if it needs to appear on multiple pages.
CollectSocials works on any Webflow site with a paid plan. The free tier includes three sources, unlimited feeds, and 2,000 monthly page views — enough to build and test your Instagram feed before committing to a paid plan. Sign up at collectsocials.com, connect your Instagram account, and you should be live on your Webflow site within fifteen minutes.
For other platform guides in this series, see how to embed a LinkedIn feed on Webflow, embed Instagram on Wix, and embed Instagram on Squarespace.
Start Using CollectSocials Today
The social media aggregator built for performance and simplicity — pull from 12+ platforms without sacrificing page speed.